This section covers a variety of functions including viewing past communications, setting communication preferences, archiving patients, printing clinical notes and merging duplicate patients.
Set whether the patient will receive reminder SMS’s and birthday SMS’s from the system. A checked box means the patient will receive that form of communication.
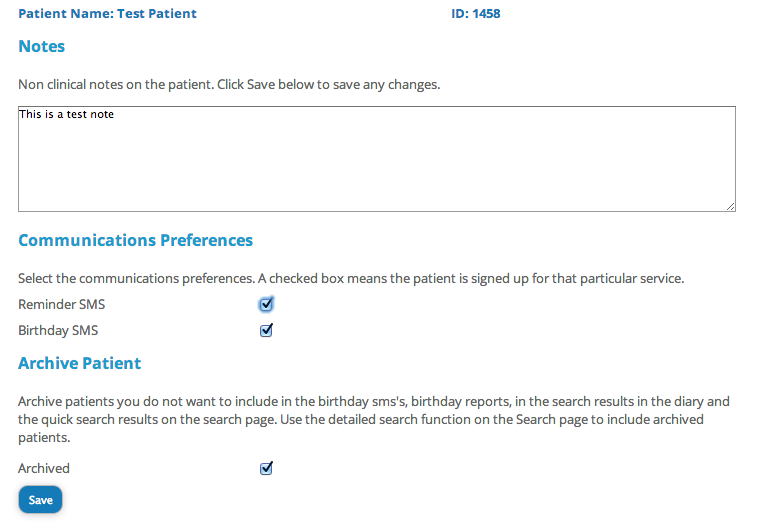
Notes
Similar to the Comments section on the Details screen, this can be used for recording information about the patient that you do not want to show in the diary when you are entering a transaction. An example might be call history when following up with patients that have missed or cancelled appointments. Be sure to click Save after making an entry to save the changes.
Archive patient
Archiving a patient excludes them from the quick search in the diary and the search page, and from the birthday SMS's and report. To archive a patient tick the Archive checkbox, then Save. If you want to unarchive them, search for them using the detailed search boxes on the Search screen, then go to their Communications screen and un-tick the archive checkbox.
Print Clinical Records
Clicking this button will open the patient's complete clinical record in pdf form in another screen. You can then easily print or save the file for further use.
Merging Patients
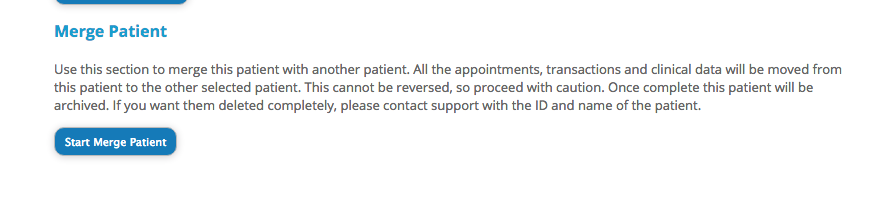
To merge a patient, go to the Communications screen of the patient you wish to be merged with another. NOTE: The patient you select at this point will have all their appointments, transactions, uploads and records merged with the patient you select. They will then be archived.
Once at the Communications screen, click the Merge Patient button at the bottom of the screen (you may need to scroll down).
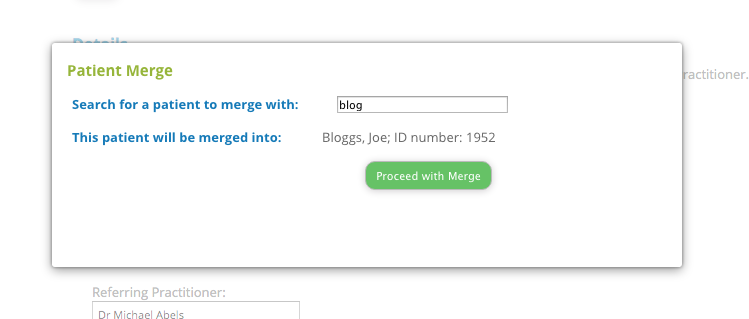
Search for the patient you wish to merge into. This is the patient that will receive all the linked information. NOTE: The personal details on the Details screen are not merged. It is assumed the patient being merged into has the correct details.
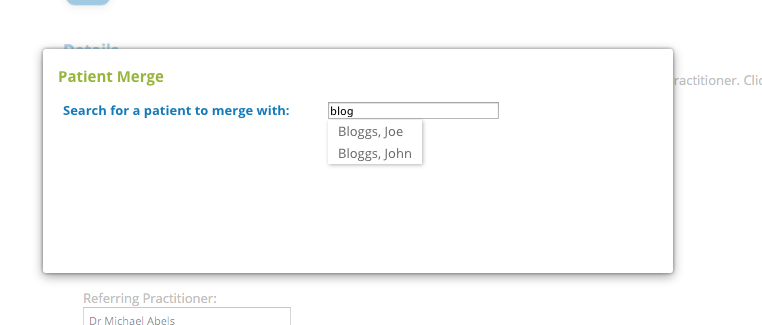
Once you have selected the patient to be merged into, click the Proceed With Merge button. The system will ask you to confirm the merge. Click Okay if you wish to continue. The system will now merge the patients, and the one being merged into the other will be archived. If you wish to delete them completely, make a note of their ID number and contact support.