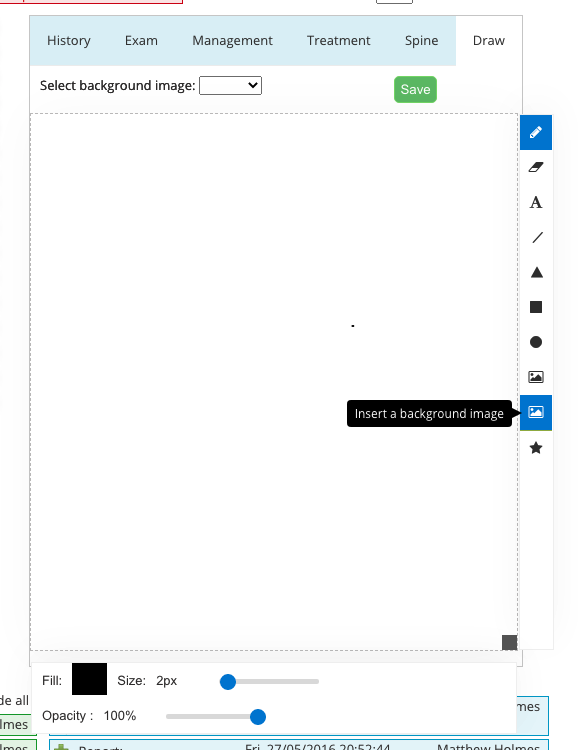
To attach drawings to the patient's clinical records use the Draw tab, then click in the dotted drawing area. The tool will default to the pencil tool in the black colour. To choose another colour, thickness etc use the options at the bottom of the drawing area. Hovering over the tools on the side will display a tooltip as shown in the image below.

You can insert background images into the drawing, such as body statics/posture diagrams etc. We'd suggest doing an internet search to find suitable images. For one-off background images, you can click the Image tool on the side bar (shown above).
For images you plan to use repeatedly, visit Settings->Images (Clinical Notes) and upload the image there. (Instructions here) Then choose the image from the "Select background image:" drop down list above the drawing area.
Saving Images
Once complete, click the green Save button in the image area. This will then attach the image to whatever notes area is currently displaying, i.e. the Standard Consultation, Initial Consultation, Re-Exam or Open Entry. To fully save the image save the notes entry as you normally would.
Deleting Images
Like notes entries, images can be deleted for 24 hours after entering. After that period they are locked to preserve the medicolegal integrity of the records.
